Posted On: July 09, 2025
Posted By: KSNM DRIP
Let's be honest, farming is tough work. Every season brings its own set of challenges, and lately, water management has been at the top of that list for many of us. We're all looking for smarter ways to grow more with less, especially when it comes to that precious resource. That's where drip tape irrigation comes in.
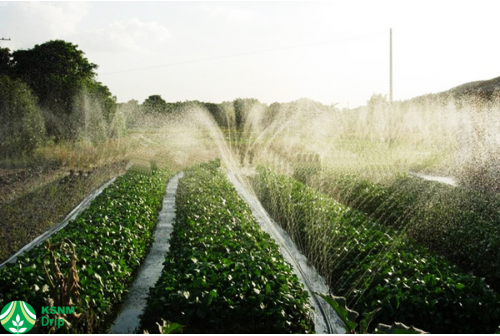
Forget the old days of wasteful sprinklers or hours spent moving hoses. Drip tape isn't just another piece of equipment; it's a game-changer. Imagine getting water and nutrients exactly where your plants need them, without a drop wasted. This isn't just about saving water; it's about nurturing stronger, healthier crops, making your land more productive, and frankly, making your life a little easier. If you're ready to ditch the guesswork and embrace a more efficient, sustainable way to irrigate, then you're in the right place. Let's dive into how you can put drip tape to work for your farm and truly unlock its potential.
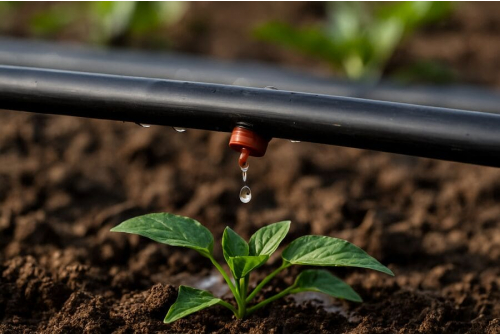
Drip tape is a thin-walled, collapsible tubing with pre-installed emitters or drippers spaced at regular intervals. Unlike traditional sprinkler systems that spray water into the air, or soaker hoses that ooze water along their entire length, drip tape precisely releases water at a controlled rate directly where it's needed most, at the base of your plants. This precision is key to its efficiency.
The tape typically operates under low pressure, making it an excellent choice for a variety of setups, from small garden beds to extensive row crops. Water enters the tape, flows through its length, and then exits through tiny, often labyrinth-style emitters. These emitters are designed to slow down the water flow, ensuring a consistent and gentle delivery that the soil can readily absorb without runoff or evaporation. This targeted approach means every drop counts, contributing directly to plant growth rather than nourishing weeds or evaporating into the atmosphere.
The advantages of implementing a drip tape system extend far beyond mere water conservation. It’s a holistic approach to irrigation that contributes to the overall health and economic viability of your agricultural endeavours.
This is the most significant benefit. By delivering water directly to the root zone, drip tape significantly reduces water loss due to evaporation, wind drift, and runoff. This precision can lead to substantial water savings, often up to 50% or more compared to traditional methods. For regions facing water scarcity or for those simply committed to sustainable practices, this efficiency is invaluable.
Drip tape systems allow for fertigation, the application of fertilizers through the irrigation system. This means nutrients can be delivered directly to the plant roots in small, frequent doses, ensuring optimal uptake and minimizing nutrient leaching. This targeted delivery enhances fertilizer effectiveness and reduces the amount of fertilizer needed, saving costs and lessening environmental impact. A good example of this is using a MixRite fertilizer injector at the start of your system.
Since water is applied only to the plant’s base, the areas between rows remain relatively dry. This significantly inhibits weed growth, as weeds no longer receive the consistent moisture they need to thrive. Less weed competition means your crops get more of the available resources. Furthermore, by keeping foliage dry, drip tape helps prevent the spread of foliar diseases that thrive in wet conditions, resulting in healthier plants and a reduced need for fungicides.
Automating your irrigation with drip tape frees up valuable labor hours that would otherwise be spent moving hoses or hand-watering. Once installed, the system requires minimal supervision, allowing you to focus on other critical farm tasks. This translates into significant time and cost savings over the growing season.
Selecting the correct drip tape is crucial for the success of your irrigation system. Several factors come into play:
Drip tape comes with various flow rates (e.g., 0.17 GPM/100 ft or 0.34 GPM/100 ft) and emitter spacing (e.g., 4, 6, 8, or 12 inches). Your soil type and crop requirements will dictate these choices. For well-composted, well-draining soil, a tighter emitter spacing (e.g., 8 inches) and closer row spacing (1 foot) are often effective. For more compacted, clay-heavy soils, wider spacing (e.g., 12 inches for both emitters and rows) can be better, along with low-flow tape to prevent waterlogging. Conversely, sandy soils benefit from higher flow tape. Consider products like the Drip Tape 250 PP 90 9-16 1000 or the Drip Tape 250 PP 45 9-16 1000, which offer different specifications to suit varied needs.
Drip tape is available in various wall thicknesses (e.g., 6 mil, 8 mil, 10 mil). Thicker walls generally mean more durability and resistance to punctures, making them suitable for multi-season use or in areas with pest concerns. Thinner tapes are often preferred for single-season crops or where costs need to be minimized.
Because the emitters are tiny, filtration is essential to prevent clogging. A proper filter at the beginning of your system will protect your drip tape from sediment and debris, ensuring consistent water flow and extending the lifespan of your system.
Installing a drip tape system is a straightforward process, but proper planning and execution are key.
Before you start, sketch out your garden or field. Determine the length of each row, the spacing between rows, and the location of your water source. This plan will help you calculate the amount of drip tape, mainline tubing, and fittings you’ll need.
Your drip tape system will connect to a mainline (often a larger, solid poly tubing) which is then connected to your water source (faucet, pump, or well). Ensure you have a pressure regulator and filter installed after your water source to protect the system.
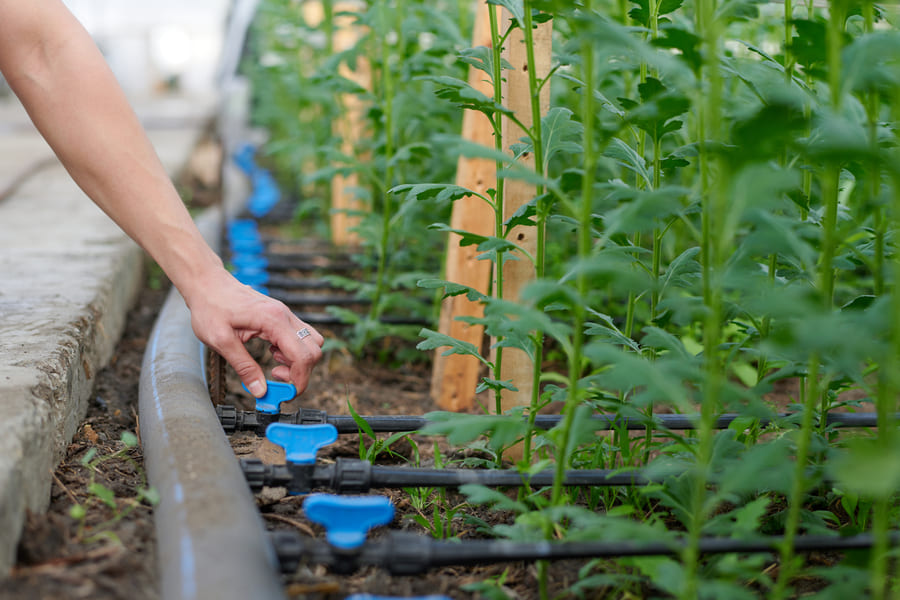
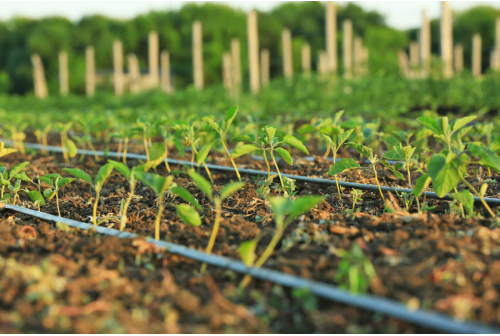
Once your mainline is in place, roll out the drip tape along your crop rows. For optimal performance, the tape should be laid out flat and straight. You can secure it lightly with wire stakes or buried shallowly if desired. Drip tape is suitable for above-ground, mulched, or buried applications.
Use specialized fittings to connect the drip tape to the mainline. For instance, a Tape x ¼' Barb with Valve can be used to control water flow to individual rows, easily attached to the mainline using a Miracle Punch tool. At the end of each drip tape run, fold the tape over and secure it with an end cap or tape lock to create a sealed system.
Before planting, it's crucial to flush your system. Open the ends of the drip tape lines and run water through for a few minutes to clear out any debris that might be inside. Then, cap the ends and run the system to check for leaks or uneven water distribution. Make any necessary adjustments.
Proper maintenance will ensure your drip tape system continues to perform efficiently for many seasons.
Periodically flush your system by opening the end caps of the drip tape lines. This helps clear out any mineral buildup or debris that may have accumulated in the emitters, preventing clogs.
Always maintain the recommended operating pressure for your drip tape. Too much pressure can cause blowouts, while too little can lead to uneven watering. Your pressure regulator is vital here.
In colder climates, proper winterization is essential. Drain all water from the system to prevent freezing and cracking of the tape and fittings. Store any removable components, such as filters and pressure regulators, indoors.
Even with proper installation and maintenance, issues can arise. Common problems include clogged emitters, leaks, and uneven water distribution. Clogged emitters can often be resolved by flushing the system. Leaks usually require a patch or replacement of the damaged section. Uneven distribution might indicate pressure problems or a need to re-evaluate your system design or tape selection.
By providing consistent, targeted watering and efficient nutrient delivery, drip tape irrigation creates an optimal environment for plant growth. This steady supply of resources reduces plant stress, leading to stronger, healthier plants and, ultimately, higher yields. The consistent moisture also helps improve fruit and vegetable quality by preventing issues like blossom end rot.
Drip irrigation represents a smart, sustainable investment for any agricultural operation. Its unparalleled water efficiency, combined with optimized nutrient delivery, reduced labor, and enhanced crop health, makes it an indispensable tool for modern farming. By carefully planning your system, choosing the right components, and committing to regular maintenance, you can unlock the full potential of your land, conserve precious resources, and cultivate a more prosperous future. Embrace drip tape, your crops, your wallet, and the environment will thank you.
 Water Distribution U...
July 01, 2026
Water Distribution U...
July 01, 2026
 Common Causes of Dri...
July 07, 2026
Common Causes of Dri...
July 07, 2026
 How to Reduce Irriga...
July 22, 2026
How to Reduce Irriga...
July 22, 2026
 Irrigation Planning ...
July 13, 2026
Irrigation Planning ...
July 13, 2026
 The Role of Cono Wee...
June 15, 2026
The Role of Cono Wee...
June 15, 2026
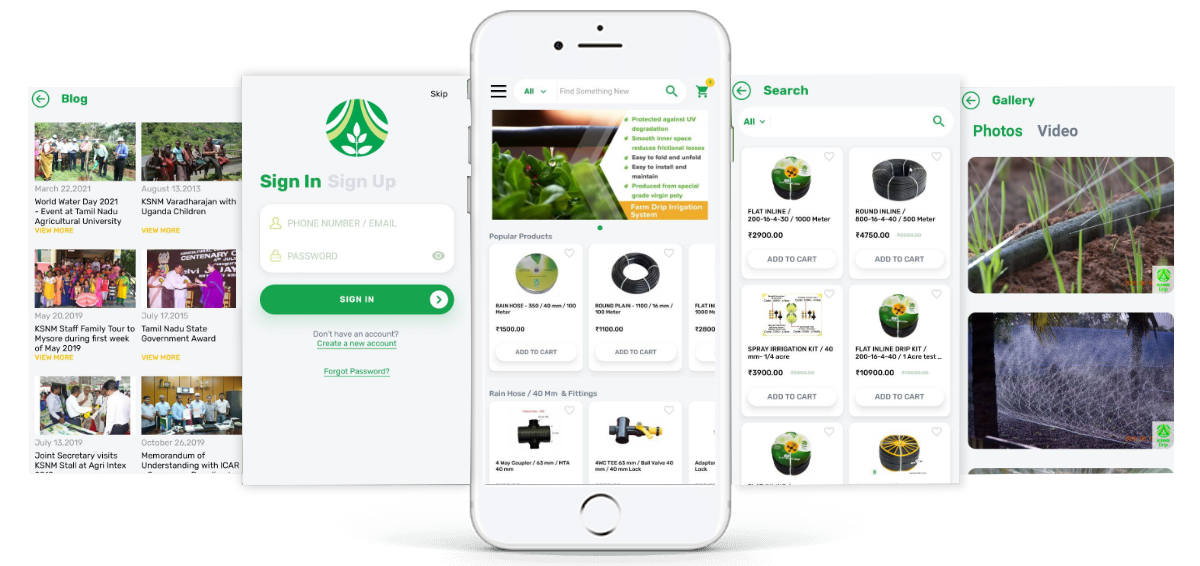
Introducing KSNM Drip’s Mobile App
Through our app’s convenience, start enjoying easy access, better experience and simple payment process. Download our App and begin your cart buying right away.


 Track Order